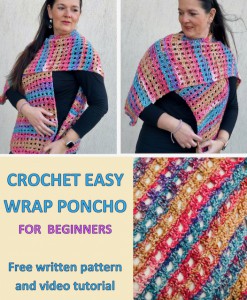
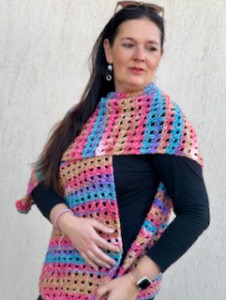
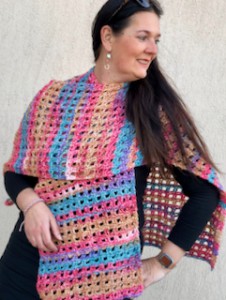
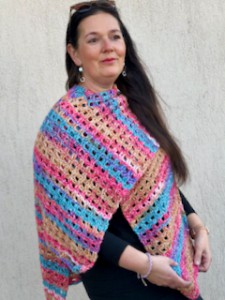
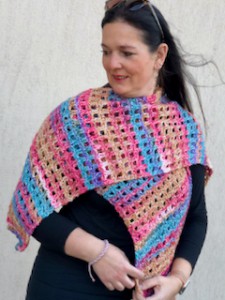
Crochet EASY and SIMPLE Poncho Wrap
You know me. I am a poncho lover. I love to crochet ponchos all the time as they are an extremely versatile clothing item, they are perfect for almost any season and for all kinds of occasions. You can wear ponchos in summers if you want to wear something cool, and in winters, these are a warm and comfortable alternative to other clothing items. Making crochet ponchos helps you to create the designs and styles.
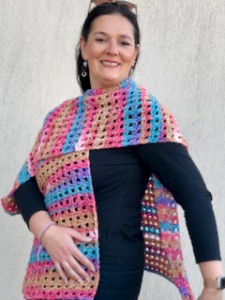
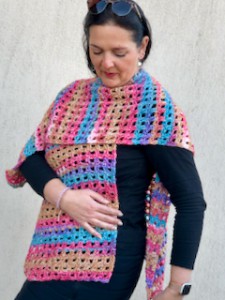
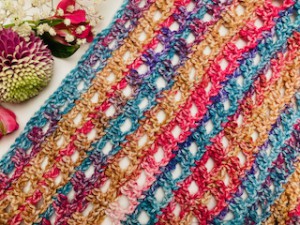
Try this super easy design for casual poncho to make a great piece for yourself or for your friends & family!
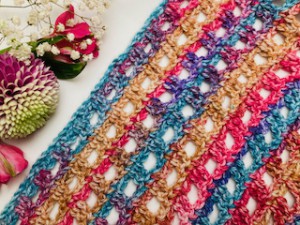
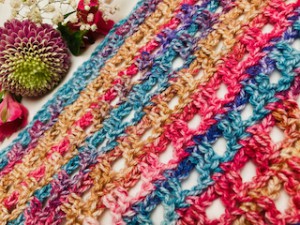
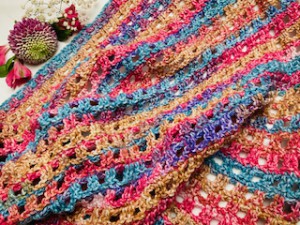
This easygoing design has open and airy stitches creating small squares on the poncho. This makes the poncho light and easy to wear.
This poncho is perfect from Spring to Fall time. This Poncho is absolutely fabulous and outstanding and will complete your outfits.
VIDEO TUTORIAL
You can find the step-by-step video tutorials below which will help you along if you prefer to watch video instruction rather than using a written pattern. Don’t forget to subscribe if you like me videos, it’s FREE!![]()
This pattern is made for beginners - only a basic skill level is required to make it. If you don't understand any of my instructions, don't worry I am here for you - enter the comments at the end of this post.
A huge thanks to everyone who want to support my blog and download PDF paid pattern. Thank you very much, I really appreciate it and it helps me create more new video tutorials and patterns for you. Love you!
![]()
If you pin my patterns to your Favorites and share it on social media as a link, I will be able to share a lot more free crochet patterns for you all.
Stay in touch at Facebook, Instagram and Pinterest.
Let's start or PIN this idea to your Pinterest boards for later.
![]()
If you’ve been looking for more PONCHOS and CARDIGANS patterns for you or for your friends and family, you may will love these patterns. They are different levels of difficulties and techniques that you might have never seen before.
You might like these ones below. Just click on them and you can find the free pattern, each of the patterns comes with a video tutorial.
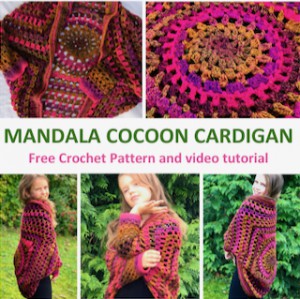
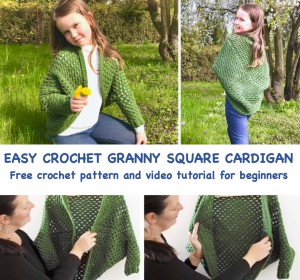
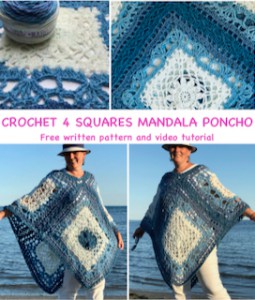
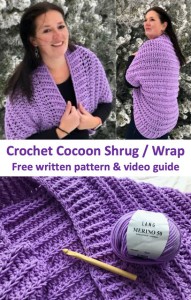
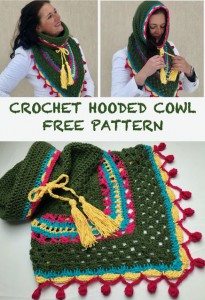
You may would love to try these Wraps and Cowls as well:

So let me now get started and tell you what you will need in order to crochet this easygoing Poncho.
https://www.vlnika.com/z16624-brigita-yarn
![]()
For this PONCHO M/L size size you will need 4 skeins of Brigita yarn.
Brigita: 100% acrylic, 100g / 200m
Difficulty Level: Level 1 – Easy, for beginners
US crochet terms:
SlSt – slip stitch
CH/s – chain/s
DC - double crochet
SC - single crochet
SK - skip
T - turn
ST/s - stitch(es)
REP - repeat
YO – yarn over
PATTERN NOTES
1) Before you start take a measurement of height of your body and a body measurement (please see the final measurement of the poncho below).
2) This pattern is for M/L women size, but you can easily adapt to a smaller size or bigger size just by reducing or increasing the number of rows. Remember that when making your poncho bigger you will need more yarn.
3) A ch3 at beg of the round counts as a stitch, ch3 = 1dc. A ch1 at beg of the round DOESN'T count as a stitch, ch1 = 1sc.
4) The project is made up of three panels joined together, 3 rectangles:
PART A = BACK PANEL
PART B = FRONT LEFT PANEL
PART C = FRONT RIGHT PANEL
The below instructions make back panel.
Crochet hook 5.00 mm
With your yarn and hook, work in rows, loosely.
Make a slip knot
Make a foundation chain: ch118 (multiple of 4 + 2) = 29 windows/squares
R1: ch1, 1sc in 2nd ch from hook, 1 sc in next ch, *ch2, skip 2 ch, 1 sc in next 2 st*, rep from * to * till end of row, turn
R2: ch3 (counts as 1dc), 1dc in next st, *ch2, skip 2 ch, 1 dc in next 2 st*, rep from * to * till end of row, turn
R3: ch1, 1 sc in next 2 st,* ch2, skip 2 ch, 1 sc in next 2 st*, rep from * to * till end of row, turn
Repeat R2 and R3 till you have 59 rows.
There are 29 windows (ch2 spaces) in each row.
Do Not Fasten Off.
RIGHT FRONT PANEL
With your yarn and hook, work in rows, loosely.
I would recommend you to use a stitch market and to place your marker on the middle window = on the ch2 space, which is the 15h ch2 space.
R60: ch3 (counts as 1dc), 1dc in next st,* skip 2 ch, 1 dc in next 2 st*, rep from * to * till one ch2 space (one window) left before the middle ch2 space (the middle window) / before the marker, turn
R61: ch1, 1sc in next 2 st,* ch2, skip 2 ch, 1 sc in next 2 st*, rep from * to * till end of row, turn
R62: ch3 (counts as 1dc), 1dc in next st,* ch2, skip 2 ch, 1 dc in next 2 st*, rep from * to * till end of row, turn
R63: ch1, 1sc in next 2 st,* ch2, skip 2 ch, 1 sc in next 2 st*, rep from * to * till end of row, turn
Repeat R62 and R63 till you are satisfied with the length of your front part. I made 119 rows in total.
The last row: ch1, 1sc in next 2 st, * 2 sc in ch2 sp, 1 sc in next 2 st*, rep from * to * till end of row
Cut the yarn, weave in the ends.
LEFT FRONT PANEL
With your yarn and hook, work in rows, loosely.
I would recommend you to use a stitch market and to place your marker on the row R59 on the middle window = on the ch2 space, which is the 15h ch2 space.
Make a slip knot.
Start working one ch2 space before the middle st / marker, this is ch2 space we skipped when working on R60 of the RIGHT FRONT PANEL.
R60: ch1, 2sc in ch2sp, (1sc in 2 next st, 2sc in next ch2sp) repeat 2 times
ch3, 1dc in next 2 st * skip 2 ch, 1 dc in next 2 st*, rep from * to * till end of row
R61: ch1, 1sc in next 2 st,* ch2, skip 2 ch, 1 sc in next 2 st*, rep from * to * till end of row, turn
R62: ch3 (counts as 1dc), 1dc in next st,* ch2, skip 2 ch, 1 dc in next 2 st*, rep from * to * till end of row, turn
R63: ch1, 1sc in next st,* ch2, skip 2 ch, 1 sc in next 2 st*, rep from * to * till end of row, turn
Repeat R62 and R63 till you are satisfied with the length of your front part. I made 119 rows in total.
The last row: ch1, 1sc in next 2 st, * ch2, 2 sc in ch2 sp, 1 sc in next 2 st*, rep from * to * till end of row
Cut the yarn, weave in the ends.
MEASUREMENT:
BACK PANEL: 80 cm wide / 75 cm long
RIGHT FRONT PANEL: 36 cm wide / 75 cm long
Left FRONT PANEL: 36 cm wide / 75 cm long
♥♥♥
Have fun and let me know what you make. I would love to know how your project turns out.
Please don't forget to like and I really appreciate your comments.
If the pattern did not make sense to you, please don’t hesitate to contact me, I am happy to help :)
If you like this pattern, please follow and share my projects on social networks as a THANK YOU and to help me to create new projects and patterns for you.
If you pin my patterns to your Favorites and share it on social media as a link, I will be able to share a lot more free crochet patterns for you all.
Stay in touch at Facebook, Instagram and Pinterest.
Thank you very much once again for your visit and see you soon!
♥♥♥


