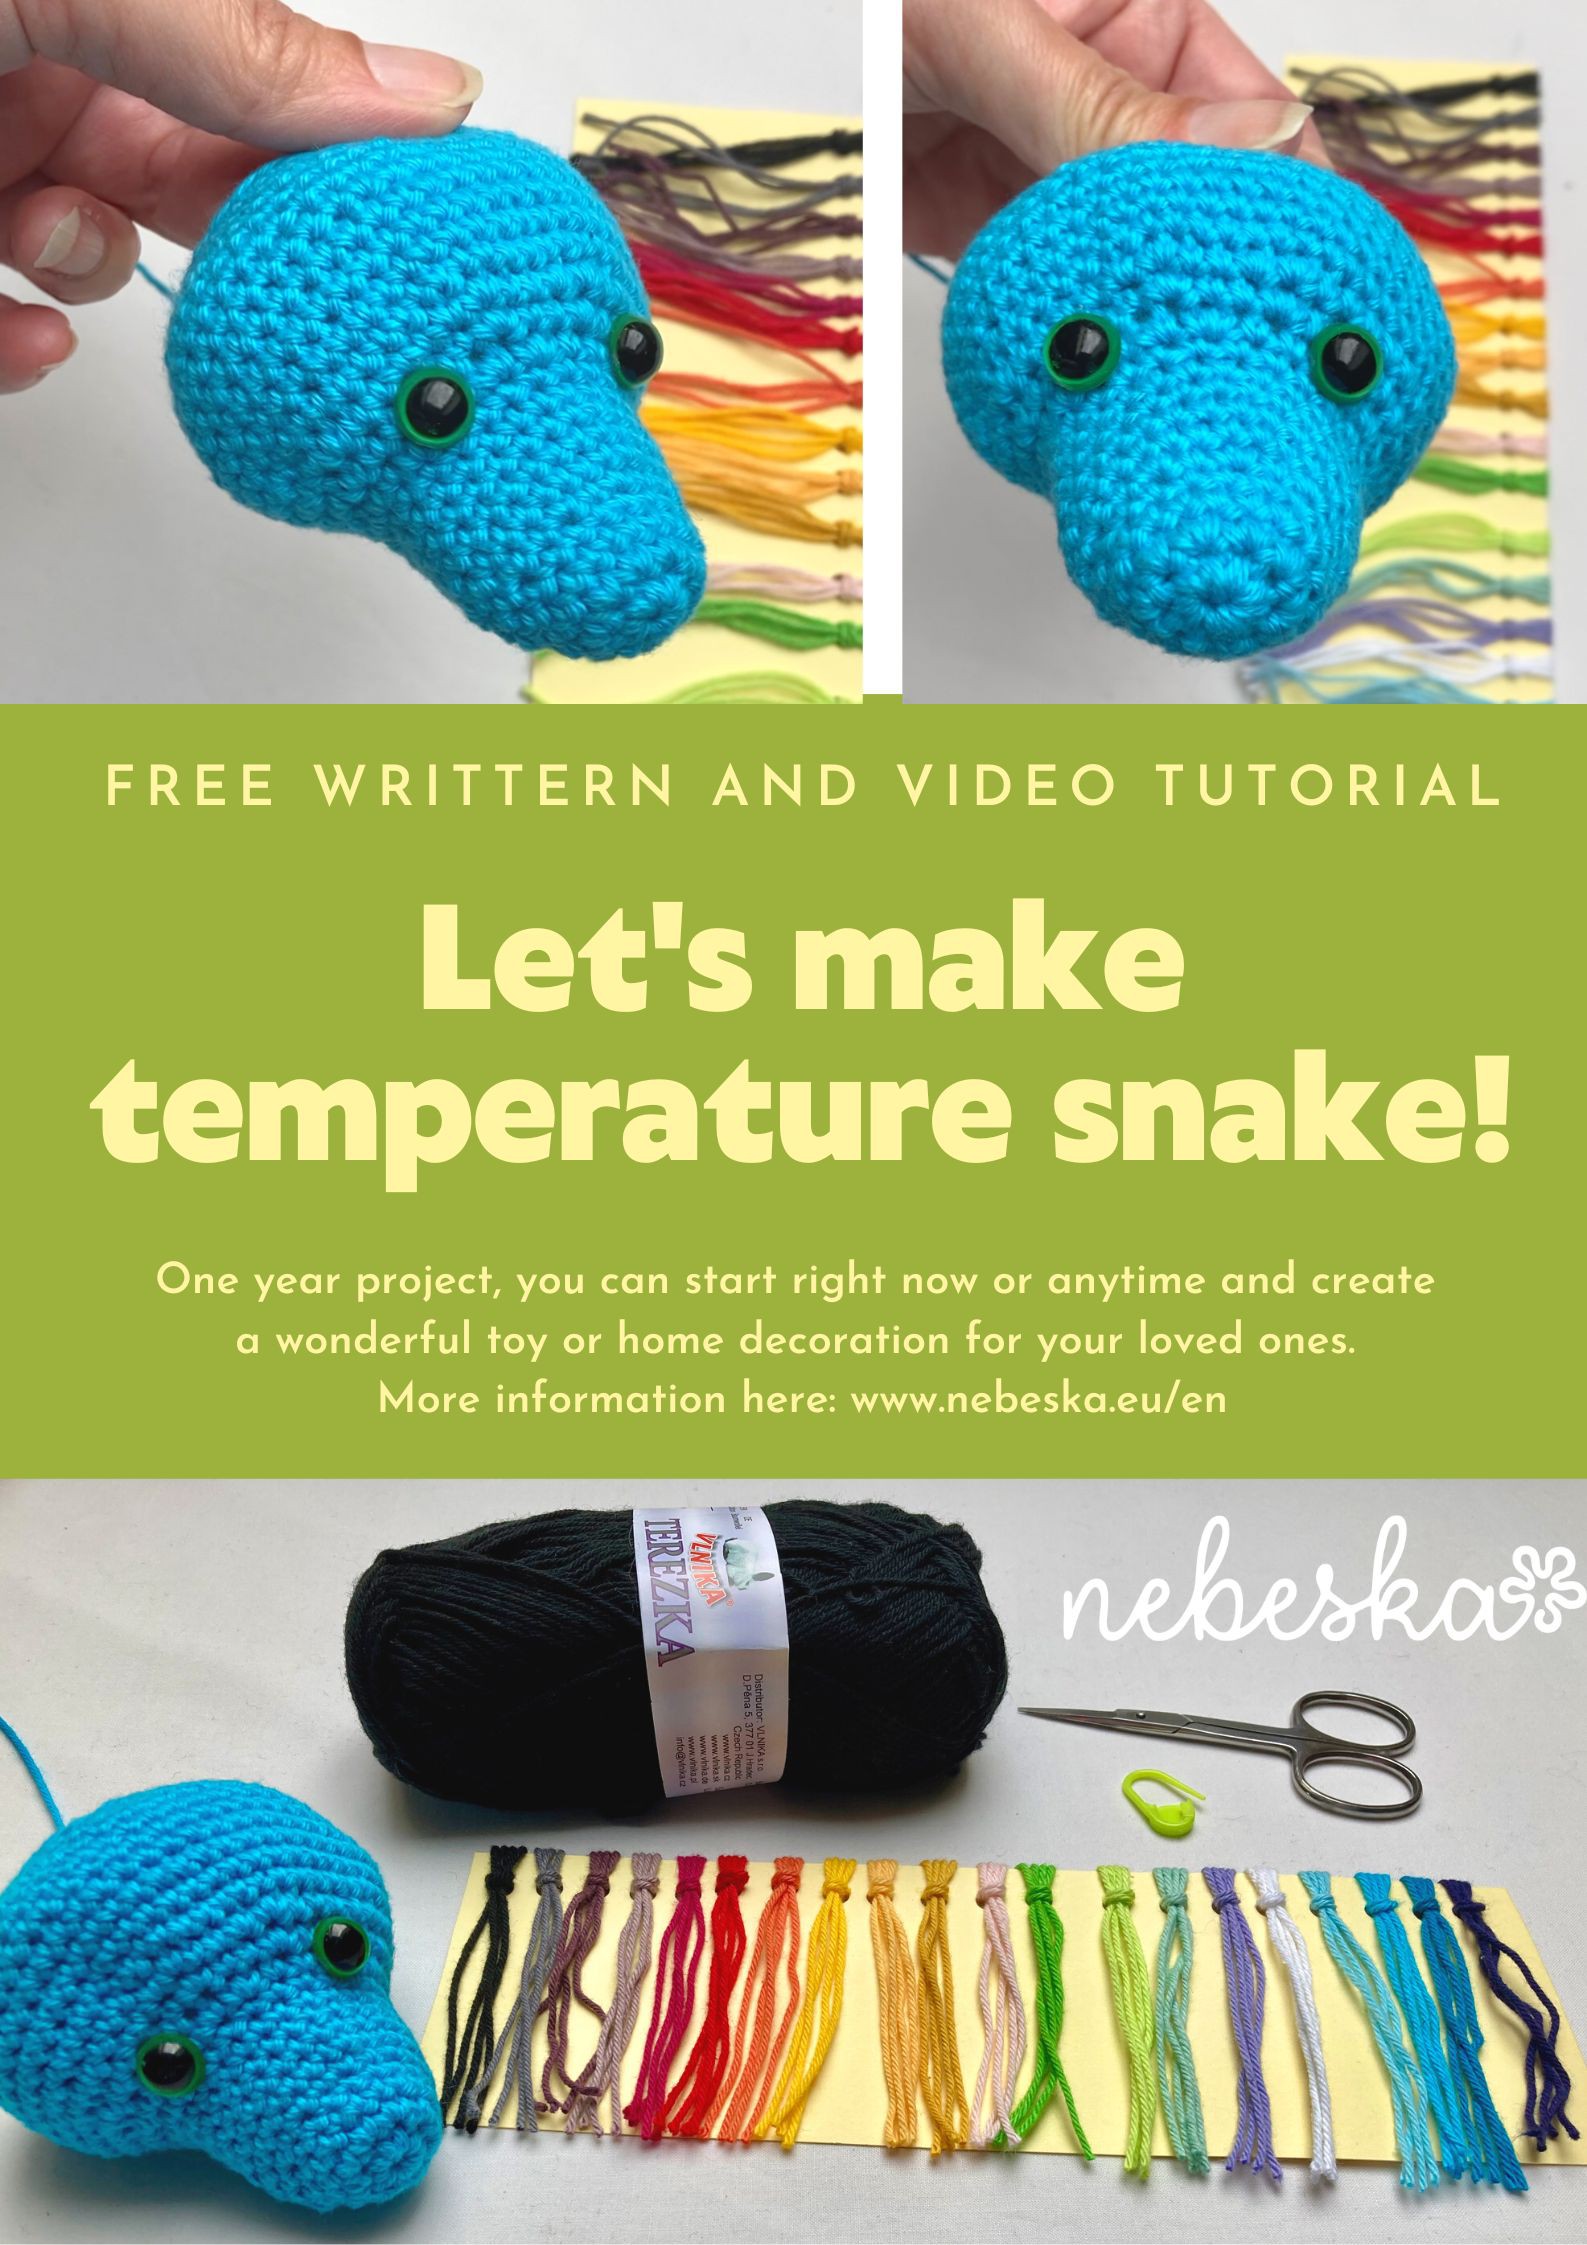
Crochet Unique and Fun Temperature SNAKE
Hello My Crochet Friends!
Have you heard of crocheting temperature projects? You've probably seen them on Pinterest and Instagram and now it's time make your own!
A temperature project or climate project or sky project - whatever you'd like to call them, is a fabulous way to record weather's changes in a year-long project.
You can make temperature blankets, Afghans or pillows, or temperature scarves and shawls or bags and many more, where you crochet one row per day to represent the temperature that day.
It’s a fun way to create something colorful and meaningful in a pattern you wouldn’t normally choose.
It’s like a weather journal made from yarn! What you do is record the temperature each day during a period of time you choose.
Each range of temperatures has a color of yarn associated with it.
You simply crochet a row for the corresponding color each day!
And you will end up with a gorgeous record of what the weather was doing for 365 days!
I prepared for you the Temperature Snake project – this is an amigurumi-style toy concept!
After crocheting the amigurumi head for your snake, its body will progress throughout the year, with one stripe per day representing the temperature of that day. You can choose to crochet minimum, maximum, average or any day’s time temperature (noon, morning, evening etc.)
I’ll show you how to create temperature range and how to choose a temperature range colors for your climate, and how to design a color scheme with your favorite amigurumi yarns.
You can choose to use a traditional color scheme with a range of blues and whites for cool temperatures in winter, greens and yellows as the days warm up in spring, and hot pinks and reds for summer or to create an original one as per your choice.
You can easily create your personalized temperature/color chart that you’ll use throughout the year as your snake progresses.
You can start right now, at the beginning of New Year or anytime during the year.
I started at the end of December – this is my youngest son birthday and I decided to create the temperature snake for his 10th Birthday in 2023!
Let’s start with selecting your color scheme, buying your yarn, and making your snake’s head, so you’ll be ready to get going with the temperature stripes as soon as 2023 arrives or anytime when YOUR DATE arrives.
New Year Start: You can start your temperature SNAKE on the official start date of Jan 1st. This is the first day you’ll start logging the daily temperature.
And you don’t need to crochet every day, provided you either keep a note of the temperature, or use a temperatures website where you can find temperature information as well.
Anytime or Late Start: If you jump into this project later, you can either catch up on the days you missed, or choose your time range starting later than Jan 1st – it’s up to you!
You can make a snake for a whole year (you’ll end up with a large one) or you could do one for a period of time:
a first year of your baby
a school or university seasons
a pregnancy
one year from birthday to birthday
or important event in your life.
The Temperature Snake will be a big fun for you!
PROJECT SHEET_TEMPERATURE SNAKE Scale.pdf
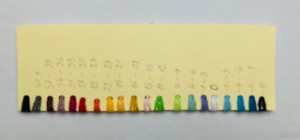
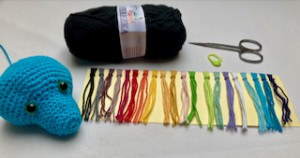
Step 1: Choose your colors and yarn
At first, it is important to decide on your temperature range and colors.
Traditionally, temperature projects use a gradient color palette.
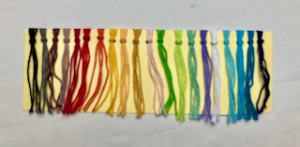
I would recommend you to us a gradient with a strong contrast from one end to the other will result in pops of color on days when the temperature is wildly different. Equally, using a subtle gradient will result in a gentle blend of colors as the temperatures rise and fall throughout the year.
It is helpful to look at previous years’ temperatures to work out how many degrees you might need to cover before deciding how many colors you want to use.
For example, in my country in center Europe, I know that the temperature generally ranges from -5 - 0°C - 35°C (with maybe a couple of dips below or spikes above on crazily cold or hot days).
I decided to use 19 colors (3°C per color).
The more colors you use, the more variations you’ll see in your snakes.
You can download the project sheet that helps you keep track of your temperatures and the corresponding yarn colors:
PROJECT SHEET_TEMPERATURE SNAKE Scale.pdf
You can use your own favorite yarn, but make sure you have enough of the same colors to finish the job. You never know what the weather will bring.
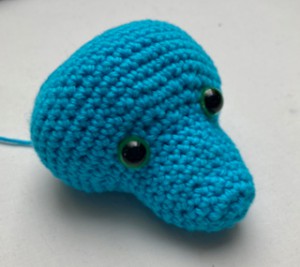
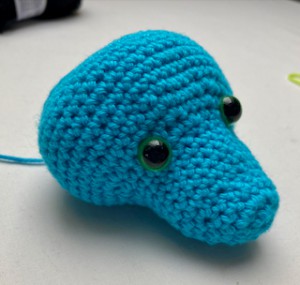
Step 2: Let’s make a snake’s head!
The written pattern is available here below for free. It comes with a video guide as well.
VIDEO TUTORIAL
You can find the step-by-step video tutorials below which will help you along if you prefer to watch video instruction rather than using a written pattern. Don’t forget to subscribe if you like me videos, it’s FREE!
![]()
Let's start or PIN this idea to your Pinterest boards for later.
![]()
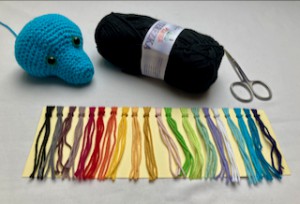
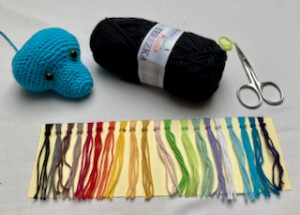
MATERIALS
Amigurumi Cotton Yarn
![]()
The pattern was made with: Terezka: 100 % bavlna, 50g, 155 m
3 mm crochet hook
8 mm plastic safety eyes - 2 pieces
Scissors
Stuffings
Sewing/Embroidery and yarn needle/tapestry needle for sewing pieces together and weaving in ends
Markers
Pins
US crochet terms:
SlSt – slip stitch
CH/s – chain/s
SC - single crochet
SK - skip
T - turn
ST/s - stitch(es)
REP – repeat
SC2TOG = 2 single crochets together
This pattern requires familiarity with stitches used, attaching yarn, changing yarn colors, sewing parts together with a sewing needle.
PATTERN NOTES
1) A ch1 at beg of the row DOESN'T count as a stitch
2) Magic ring = the starting point for crocheting in a spiral. Use which ever method you prefer.
3) Continuous rounds - the snake is worked up in continuous rounds, which means that you will not be joining the last stitch of the round with the first one. Instead you will need to keep track of where each round started and how many stitches you have made because after each round you will continue right on to the stitches of the next round (with no join). It is useful to use a stitch marker or piece of yarn to mark the start or end of each round.
4) ( ) – The number of stitches that should be in a completed round/row are placed in brackets at the end of that round’s/row’s instructions.
THE WRITTEN PATTERN
Color A
This part is worked in spiral rounds, without joining rounds. Do not join rounds.
Make a magic ring
R1: ch1, 8sc in magic ring (8sc)
R2: *2sc in each st around* repeat from * to * till end of round (16 sc)
R3-R4: 1sc in each st around (16 sc)
R5: *2sc in next st, 1sc in next st* repeat from * to * till end of round (24 sc)
R6-R11: 1sc in each st around (24 sc)
R12: 1sc in next 5st, 2sc in next 2st, 1sc in next 4st, 2sc in next 2st, 1sc in next 4st, 2sc in next 2st, 1sc in next 5st (30 sc)
R13: 1sc in next 6st, 2sc in next 2st, 1sc in next 5st, 2sc in next st, 1sc in next 2st, 2sc in next st, 1sc in next 5st, 2sc in next 2st, 1sc in next 6st (36 sc)
R14: 1sc in next 5st, 2sc in next 2st, 1sc in next 2st, 2sc in next 2st, 1sc in next 4st, 2sc in next 2st, 1sc in next 2st, 2sc in next 2st, 1sc in next 4st, 2sc in next 2st, 1sc in next 2st, 2sc in next 2st, 1sc in next 5st (48 sc)
R15 - R22: 1sc in each st around (48 sc)
R23: 1sc in next 5st, sc2tog, sc2tog, 1sc in next 2st, sc2tog, sc2tog, 1sc in next 4st, sc2tog, sc2tog, 1sc in next 2st, sc2tog, sc2tog, 1sc in next 4st, sc2tog, sc2tog, 1sc in next 2st, sc2tog, sc2tog, 1sc in next 5st (36 sc)
R24: 1sc in each st around (36 sc)
R25: 1sc in next 6st, sc2tog, sc2tog, 1sc in next 5st, sc2tog, 1sc in next 2st, sc2tog, 1sc in next 5st, sc2tog, sc2tog, 1sc in next 6st (30 sc)
Add crocheted eyes or safety plastic eyes size 8 mm between row R10 and R11, skip 7 stitches apart.
Stuff the HEAD well.
Step 3: Crochet 365 days of colorful temperatures!
It is up to you whether you choose to record the highest, lowest, or average daily temperatures, but whatever value you choose, simply use the assigned color from your gradient for that day’s temperature.
I am so excited, we can share and post photos of our snakes, to compare the progress with everyone else’s and admire how the snakes’ colors are changing, giving you accountability and encouragement to keep going!
All over the world, temperature projects look different - imagine how opposite an Australian snake would be, compared to one from Italy or Sweden!
By the end of the year, you’ll have your own unique and personal snake!
PROJECT SHEET_TEMPERATURE SNAKE Scale.pdf
We can fully appreciate the colorful results of this year-long project. How will our snakes vary across the world? I can’t wait to find out! The great thing about this project is that, although we don’t know in advance exactly how our snakes will turn out and that’s part of the fun! I guarantee that they’re all going to look fantastic!
Stay in touch at Facebook, Instagram and Pinterest.
This pattern is made for beginners - only a basic skill level is required to make it. If you don't understand any of my instructions, don't worry I am here for you.
Have questions? Join the Facebook Group!
I hope this article will be useful for you! If you have any additional questions, feel free to join my Facebook Group. I created this group for you to share pictures, ask questions, and help each other out.
MORE PATTERNS?
You know me, I love making homemade things and creating beautiful gifts for my family and my friends. I also love doing my own crochet Amigurumi.
If you do as well, you may would love to try these patterns as well:
More Crochet HOLIDAYS patterns?
For even more crochet HOLIDAYS patterns, check out my collection.
All of the patterns on that list of beautifully designed, and suitable for both beginners and experienced crocheters.
Explore More Crochet Patterns
If you love to crochet as much as I do, I think you’ll love these other free crochet patterns.
What’s Next?
Pin this post: Save this tutorial to your Pinterest boards so that you can come back to it later.
Leave a comment: I love to hear your feedback. Tell me in the comments below!
Share on Instagram and Facebook: When you make this project, share it on social media and tag me @sonanebeska. I love to see what you make!
♥♥♥
Have fun and let me know what you make. I would love to know how your project turns out.
Please don't forget to like and I really appreciate your comments.
If the pattern did not make sense to you, please don’t hesitate to contact me, I am happy to help :)
If you like this pattern, please follow and share my projects on social networks as a THANK YOU and to help me to create new projects and patterns for you.
Thank you very much once again for your visit and see you soon!
♥♥♥


