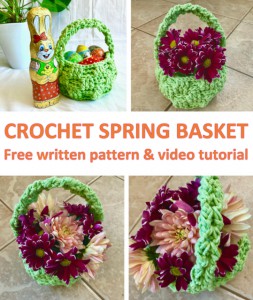
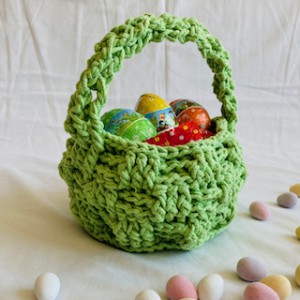
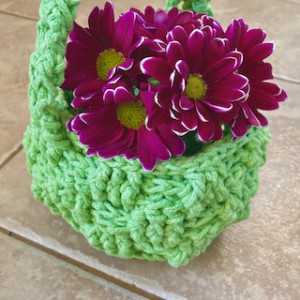
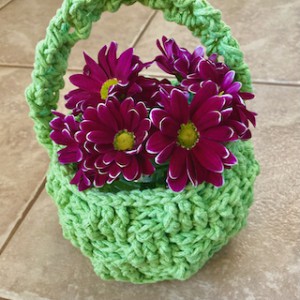
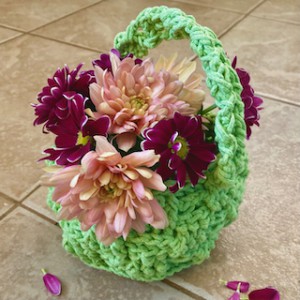
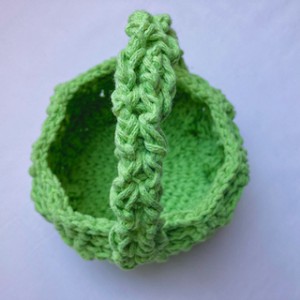
Crochet SPRING GREEN Basket
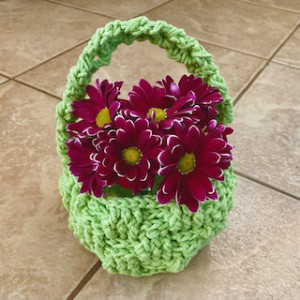
I love to crochet baskets for holidays and to give them as gifts. This cute little SPRING GREEN basket could be perfect for spring time and for EASTER HOLIDAY.
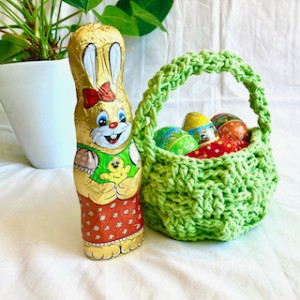
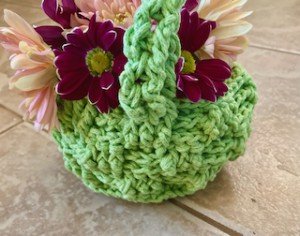
Fill up your baskets with sweet treats or chocolate eggs for Eater and then keep the basket as an attractive and practical storage solution. You can create baskets of many versions and various sizes.
You know me, I love making homemade things and creating beautiful gifts for my family and my friends. If you do as well, you may would love to try these EASTER patterns as well:

VIDEO TUTORIAL
You can find the step-by-step video tutorials below which will help you along if you prefer to watch video instruction rather than using a written pattern. Don’t forget to subscribe if you like me videos, it’s FREE!![]()
A huge thanks to everyone who want to support my blog and download PDF paid pattern. Thank you very much, I really appreciate it and it helps me create more new video tutorials and patterns for you. Love you!
![]()
If you pin my patterns to your Favorites and share it on social media as a link, I will be able to share a lot more free crochet patterns for you all.
Stay in touch at Facebook, Instagram and Pinterest.
Please show your support and help me share this free pattern by simply pinning a PIN, or sharing a link with your crochet friends!
Let's start or PIN this idea to your Pinterest boards for later.
![]()
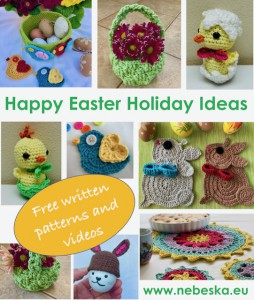
I love sharing crochet patterns for different themes and holidays.
Spring is right around the corner and Easter on its way, I thought I would round up some super cute Crochet Patterns for you to get your hook into.
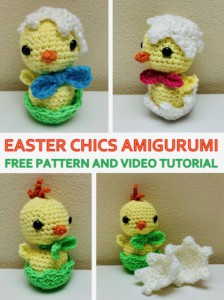
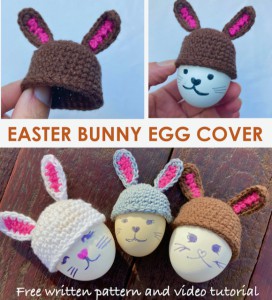
This is my List of HAPPY EASTER HOLIDAY crochet patterns I prepared for you – they are available for free and they comes with video tutorials as well. There is something for everyone. I’ve included cute little amigurumi EASTER CHICKENS and RABBITS egg cover, also some BASKETS and easy and quick BIRDIES and more!

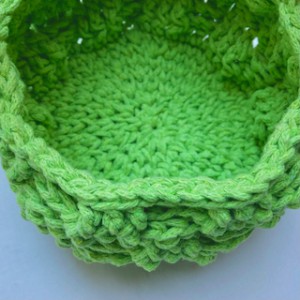
This Basket is very easy and quick to make.
The pattern uses only basic crochet stitches - single and double crochets!
I used: AYAZ Macreme
100% Cotton, 250g = 150m
For one basket = 3/4 of 1 skein
![]()
For this pattern you will need 4.00 mm crochet hook
Difficulty Level: Level 1 – Easy, for beginners
SlSt – slip stitch
CH/s – chain/s
DC - double crochet
FPDC - front post double crochet
BPDC - back post double crochet
SK - skip
T - turn
ST/s - stitch(es)
REP - repeat
The waistcoat stitch is basically the same as a standard single crochet stitch:
Step 1: Insert your hook into the next stitch of the previous round
To crochet waistcoat stitch you insert the hook into the lower V of the sc stitch of the previous round.
Step 2: Yarn over and pull through a loop
Step 3: Yarn over and pull through the two loops on your hook
This produces rows and rows of Vs, creating that stocking stitch knitted appearance.
To start of, pull the new yarn through the V of one of the stitches in the previous round. Make a loose chain and then work the waistcoat stitches in each stitch all around.
To finish the round, make a waistcoat stitch into the stitch before your joining chain. Gently pull the tail end of the joining chain out so that your work starts with the first proper waistcoat stitch. Make a final waistcoat stitch of the round into the stitch that is now empty. Close with a slip stitch made into the V of the first stitch of the round then fasten off.
If you are working in the round and making several rounds in the same colour, you can work in a spiral. When you reach your starting chain, gently pull it out and replace it with a waistcoat stitch. Then work your next waistcoat stitch straight into the first waistcoat stitch of the previous round. Place a stitch marker so that you know where the round begins and continue for the required number of rounds.
Invisible Join – Crochet Technique:
We will be using an invisible join technique to finish off the edge of the basket. This will give you a neat, seamless, edge around. To do this, cut your yarn after the last stitch, leaving a couple of inches of tail, and pull the end up through the last stitch made. Use your yarn needle to thread the end through under both loops of the second stitch along, and back into the middle of that last stitch. Pull to tighten, creating a faux stitch top over the first stitch. You may notice the real first stitch top poking out a little at the back. Thread the end up through the back loop of the real first stitch, and weave the end into the inside of the basket to secure. Trim off any excess.

FRONT POST DOUBLE CROCHET AND BACK POST DOUBLE CROCHET STITCHES
front post double crochet (fpdc) and back post double crochet (bpdc)
Front and back post crochet stitches are used to create wonderful texture in crochet. Instead of making your stitch through the loops at the top of the stitch, you make it around the stitch. Everything else stays the same. The most challenging things about crochet post stitches are knowing where and how to insert the hook. There are front post stitches and back post stitches.
For front post double crochet stitches (fpdc): yarn over, insert your hook from front to back then from back to front around post of stitch indicated, yarn over, pull through stitch, then finish your double crochet as normal, yarn over, pull through 2 lps, yarn over, pull through last 2 lps
For back post double crochet stitches (bpdc): yarn over, you insert your hook from back to front then from front to back around post stitch indicated, yarn over, pull through stitch, then finish your double crochet as normal, yarn over, pull through 2 lps, yarn over, pull through last 2 lps
1) A ch1 at begging of round doesn't count as a stitch throughout.
2) The project is crochet as a circle.
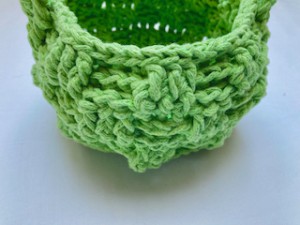
the side is 3.5 inch / 9 cm high
R4: 1 center single crochet / waistcoat stitch in first st (cssc), rep * 1cssc in next 2 st, 2 cssc in next st * repeat from * to * till end of round, 1 more cssc in first st, close the round with special sl st invisible join or with sl st (24 sc)

R1: WORK IN STITCHES R8 in BLO only

Cut the yarn, fasten off and wave all ends in.
Work with your yarn and crochet hook.
R1: ch2, 1fpdc in next 3 st, turn
R2: ch3 (bpdc), 1bpdc in next 2 st, turn
Cut the yarn, fasten off and wave all ends in.
♥♥♥
Have fun and let me know what you make. I would love to know how your project turns out.
Please don't forget to like and I really appreciate your comments.
If the pattern did not make sense to you, please don’t hesitate to contact me, I am happy to help :)
If you like this pattern, please follow and share my projects on social networks as a THANK YOU and to help me to create new projects and patterns for you.
Thank you very much once again for your visit and see you soon!
♥♥♥


