Crochet Rainbow Ribbed Beanies for all
I love wearing hats. All crochet hats just make the adorable head warmers, this is an amazing Ribbed Beanie pattern which is textured and stretchy and making you look entirely great!
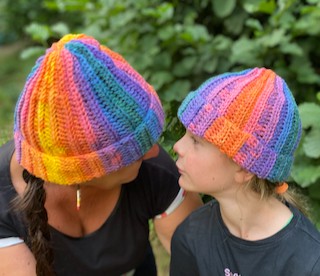
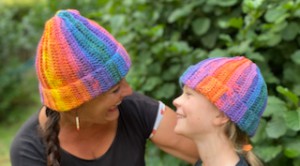
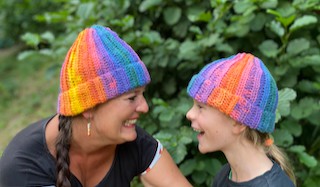
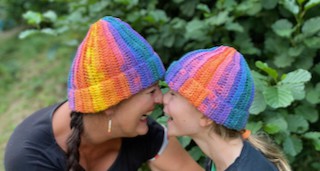
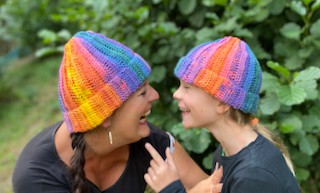
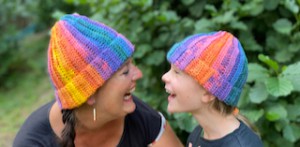
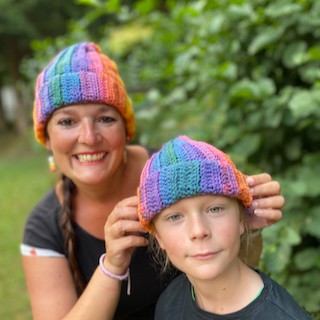
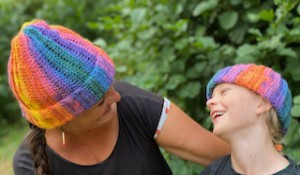
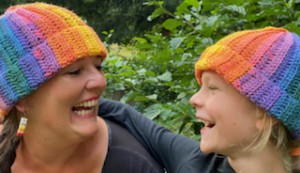
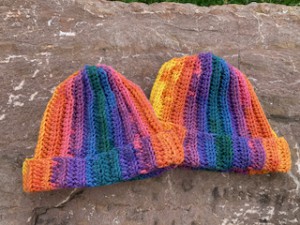
Check out here my crochet Rainbow Ribbed Beanies that are perfect to wear over the head.
These Rainbow Ribbed Beanies are perfect for fall and spring time and as well as it’s a beautiful accessory.
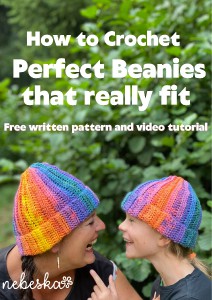
I am happy to show you how to crochet these perfect Rainbow Ribbed Beanies that really fit!
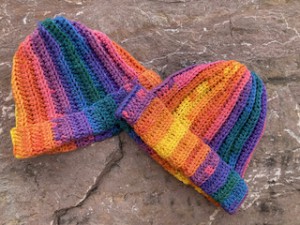
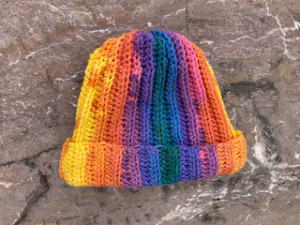
I love this wonderful yarn rainbow color and quality, it is not too thick, just the right thickness to show off some texture. The texture on this Rainbow Ribbed Beanie is created using half double crochets stitches.
It is the perfect crochet beanie pattern for new crocheters - with very simple construction - great project for beginners.
Make this Rainbow Ribbed Beanie to your hat collection!
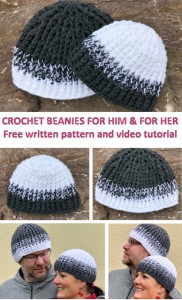
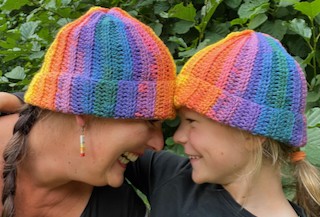
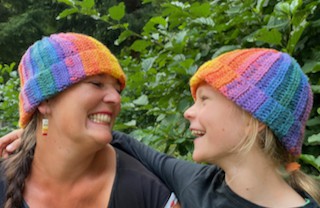
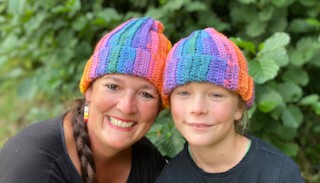
I love making this style of crochet unisex beanie for everyone - beanies make great gifts for the whole family.

It’s made with a stretchy ribbing stitch pattern for a nice fit.
The pattern is available here below for free. It comes with a video guide as well.
VIDEO TUTORIAL
You can find the step-by-step video tutorials below which will help you along if you prefer to watch video instruction rather than using a written pattern. Don’t forget to subscribe if you like me videos, it’s FREE!![]()
A huge thanks to everyone who want to support my blog and download PDF paid pattern. Thank you very much, I really appreciate it and it helps me create more new video tutorials and patterns for you. Love you!
![]()
If you pin my patterns to your Favorites and share it on social media as a link, I will be able to share a lot more free crochet patterns for you all.
Stay in touch at Facebook, Instagram and Pinterest.
Let's start or PIN this idea to your Pinterest boards for later.
![]()
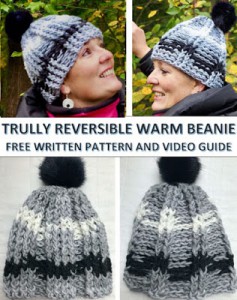
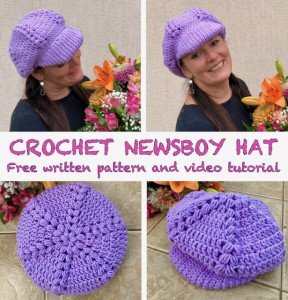
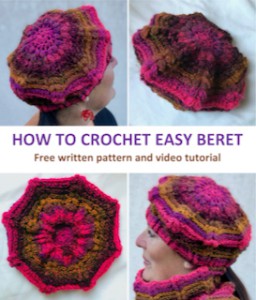
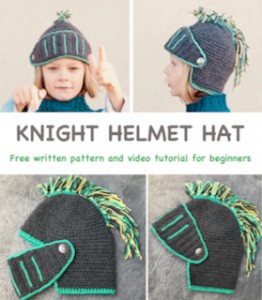
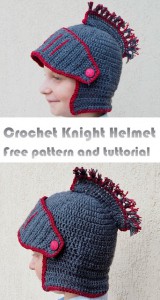
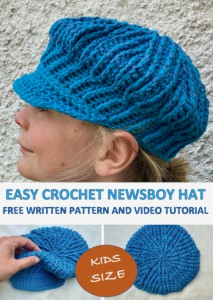
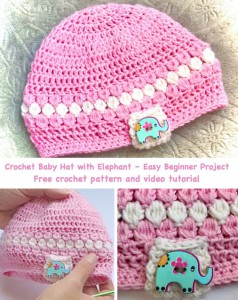
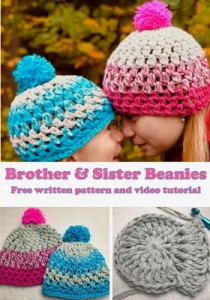
Do you love the HAT crocheting? Hats are always good gift ideas. You would may like to try also these patterns:
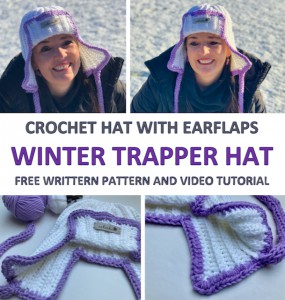
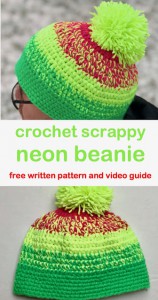
Or maybe would love to try some hats for kids:
This pattern is made for beginners and with my video tutorials everyone will manage to crochet this amazing pattern. If you don't understand any of my instructions, don't worry I am here for you - enter the comments at the end of this post.
Let’s get started to make this perfect pattern!
CROCHET RAINBOW RIBBED BEANIE DIRECTIONS:
This Rainbow Ribbed Beanie is a super easy crochet project.
You’ll love how quick and easy this crochet Rainbow Ribbed Beanie is to make.
No complicated stitch pattern - just single crochet stitches and half double crochet stitches.
It’s made with a stretchy ribbing stitch pattern for a perfect fit.
So let me now get started and tell you what you will need in order to crochet this Rainbow Ribbed Beanie
The pattern was made with yarn: Papatya Batik: 100% acrylic, machine washable, 100g / 3.5 oz, 360 m / 393 yd
This yarn made from 100% acrylic, so it’s soft, affordable, and really easy to care for. Plus, this yarn comes in more than 20 gorgeous colors.
https://www.vlnika.cz/z14472-prize-papatya-batik
1 ball is ideal for 2 Rainbow Ribbed Beanies
For this pattern you will need 5.5 mm crochet hook.
Stitch Markers, scissors and tapestry needle and I would recommend you to use a tape measure.
CROCHET RAINBOW RIBBED BEANIE SIZE:
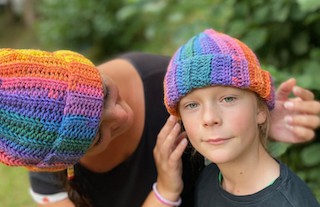
Size: bellow there is a pattern for woman size, the head measurement 22 inch / 56 cm, this one fits perfectly to me. And for kids size, the head measurement 19,7 inch / 50 cm, this one fits perfectly to my 8 years old son.
The crochet RAINBOW RIBBED BEANIE can easily be adapted to a smaller size or bigger size. I’ll show you how to make sizes that really fit, from toddlers to adult.
Difficulty Level: Level 1 – Easy, for Beginners
US crochet term:
SlSt – slip stitch
CH/s – chain/s
SC – single crochet
HDC - half double crochet
SK - skip
T - turn
ST/s - stitch(es)
REP - repeat
YO – yarn over
Special stitches used:
BLO = BACK LOOP ONLY
CROCHET RAINBOW RIBBED BEANIE PATTERN NOTES
1) These pattern below is for adult women and for kids size, these sizes can be easily adapted to a smaller size or bigger size just by reducing or increasing the numbers of stitches and as well as less or more numbers of rows. Remember that when making bigger beanie size, you will need more yarn.
Adult Women Size:
Head measurement: 22 inch / 56 cm
Kids size (8 years)
Head measurement: 19.7 inch / 50 cm
2) This Beanie is crocheted in rows, back and forth, using half double crochet stitches and single crochet stitches, working in back loops only.
So, if you can crochet back and forth in rows, you can make this simple crochet beanie pattern!
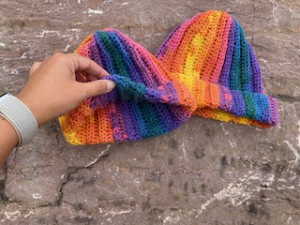
3) This Beanie is worked up as a flat rectangle.
4) To finish the Beanie, you’ll join together the shorter sides to form a tube. After that, gather the opening - one end of the tube is gathered to create the Beanie shape.
3) A Ch 1 at beg of the row DOESN'T count as stitch
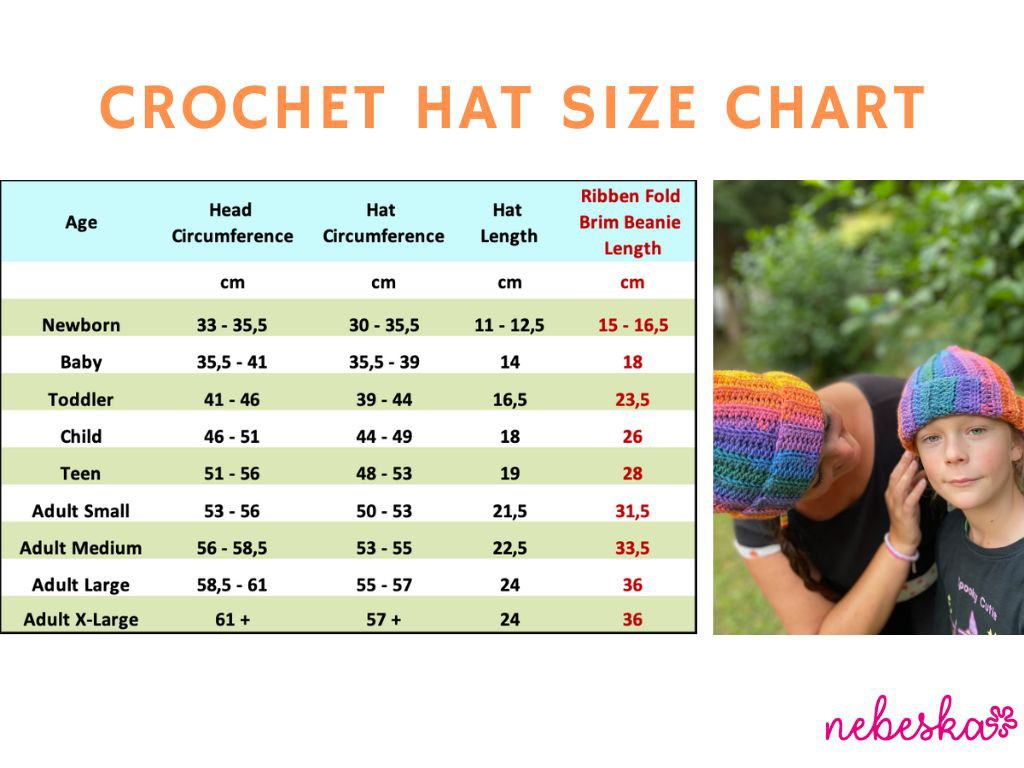
SIZE
The pattern is easy to adjust to fit different head sizes from Toddler to Adult sizes
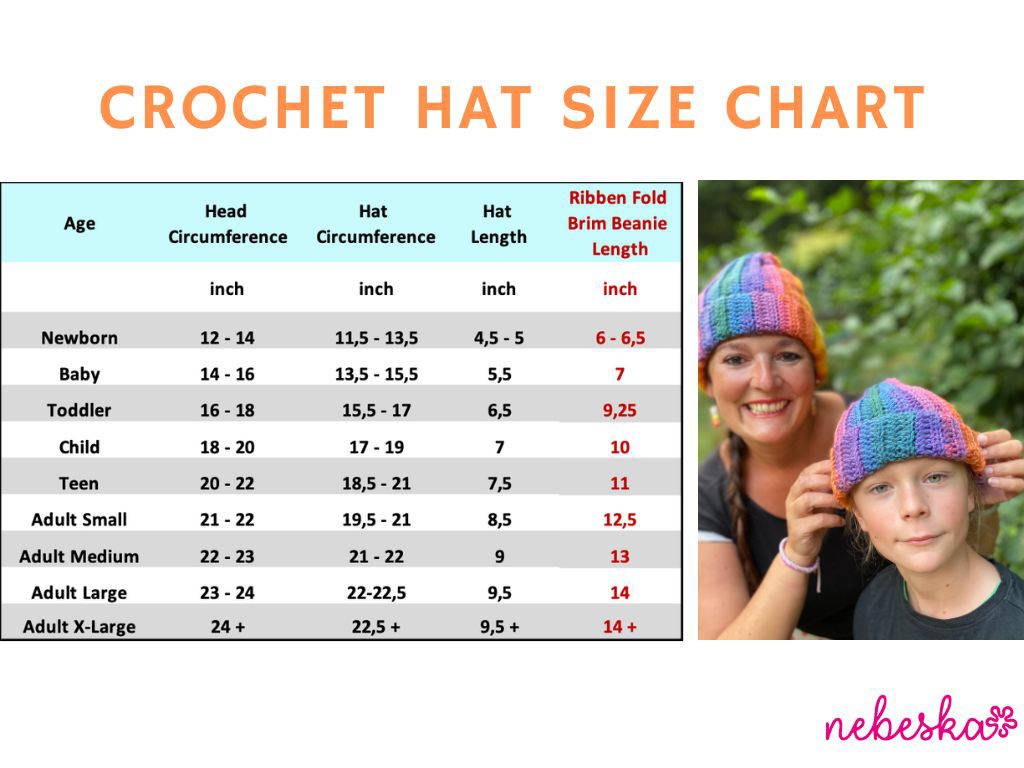
I’ll show you a hat size chart and a simple formula to follow for a perfect fit each and every time.
Crochet Beanie Size Chart
Wondering what size beanie to make? To correctly size a crochet beanie, you’ll want to make a beanie that’s just a bit smaller than your head size. This way, when the beanie stretches, it will fit your head perfectly.
To find your perfect size, use a tape measure to measure the widest part of your head. This will give you your head circumference measurement.
Then, subtract about 1 inch from this to get the finished beanie size measurement. Since this stitch pattern is quite stretchy, I find that 1 inch of negative ease gives me a nice fit.
My example
For example, my head measurement is 22 inch, which puts me in the Adult Medium size. After I subtract 1 inch of negative ease, I know I want a make the circumference of the hat 20,7 inch.
To make my beanie, I crocheted as many rows as it took to reach a finished beanie size of 20,7 inch, which turned out to be 44 rows plus 1 seaming row.
To make a well-fitting beanie, crochet as many chains as you need to reach the appropriate hat length measurement. Add 2 inch to this measurement to add a folded brim.
And then, crochet as many rows as you need to reach the appropriate hat circumference measurement.
*Measurements are taken from the garment lying flat, before the yarn has stretched out/dropped.
See Chart for more sizes
HOW TO CROCHET RAINBOW RIBBED BEANIE / WOMAN SIZE
Crochet Ribbing Stitch.
The Beanie is made with a half-double crochet ribbing stitch. Making the hdc through the back loop only makes a stretchy crochet ribbing that’s perfect for beanies.
There are added a few single crochet stitches near the crown of the beanie, so the top is narrower than the center of the beanie. This will come in handy when it’s time to gather the opening and finish the hat.
WRITTEN PATTERN - ADULT SIZE:
I would recommend you to take your measurement at first. I took my measurements. I want a fold brim beanie with a finished length of 33 cm / 13 inch and a circumference of 53 cm / 20.7 inch.
Foundation chain: 33 cm / 13 inch
Beanie Length: 23 cm + 5 cm (top) + 5 cm (brim) // 9 inch + 2 inch (top) + 2 inch (brim) inch
Head Circumference: 56 cm / 22 inch
Beanie Circumference: 53 cm / 20.7 inch
Make a slip knot and chain foundation chain: 44 chains
R1: ch1, 1sc in the second chain from your hook, 1sc in next 9 ch. 1hdc in next 34 ch. Turn (44 st)
R2. ch1, 1hdc in next 34 st, BLO, 1sc in next 10 st, BLO, turn (44 st)
R3: ch1, 1sc in next 10 st, BLO, 1hdc in next 34 st, BLO turn (44 st)
R4 - R44: Repeat rows R2 and R3, until you reach your measurement.
For my Beanie, adult women medium size, I crocheted 44 rows.
WRITTEN PATTERN - CHILD SIZE:
First, I took measurements of my son’s head. I want a fold brim beanie with a finished length of 29 cm / 11 inch and a circumference of 48 cm / 18,5 inch.
Foundation chain: 29 cm / 11 inch
Head measurement: 50 cm / 19.7 inch
Beanie Length: 20 cm + 4 cm (top) + 5 cm (brim) // 7,8 inch + 3,2 inch (top) + 2 inch (brim) inch
Beanie Circumference: 48 cm / 18,5 inch
Make a slip knot and chain foundation chain: 38 chains
R1: ch1, 1sc in the second chain from your hook, 1sc in next 9 ch. 1hdc in next 28 ch. Turn (38 st)
R2. ch1, 1hdc in next 28 st, BLO, 1sc in next 10 st, BLO, turn (38 st)
R3: ch1, 1sc in next 10 st, BLO, 1hdc in next 28 st, BLO turn (38 st)
R4 - R44: Repeat rows R2 and R3, until you reach your measurement.
For my son’s Beanie, child size, I crocheted 40 rows.
Note: Take this measurement along the long edge of half-double crochet stitches, not the long edge with the single crochet stitches. A fabric measuring tape is useful here, since it’s more flexible than a ruler.
ALL SIZES FINISHING INSTRUCTIONS:
Join the sides.
Now that it’s time to join the beanie together.
Join the sides together with a simple slip stitch seam. Turn the beanie right sides together. Crochet the wrong sides with a row of slip stitches (sl st) made through both back loops of stitches on both edges.
Gather the top of the hat.
Pull yarn through the last loop and trim a long yarn tail. Use the yarn tail and a darning needle to make long running stitches along the top edge of the beanie.
Pull the yarn tail to gather the top edge of the beanie, and pull it closed. You can knot the yarn tail to secure it. Cut the yarn, weave in the ends.
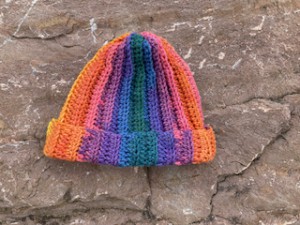
Lay your Ribben Rainbow Beanie the RIGHT SIDE out and smooth down.
You are all done with your amazing CROCHET RIBBEN RAINBOW BEANIE!
MORE PATTERNS?
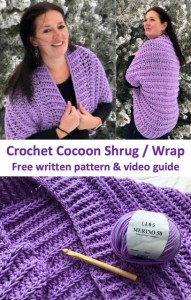
I would recommend you to match your CROCHET RIBBEN RAINBOW BEANIE with this beautiful lovely cocoon shrug cardigan:
♥♥♥
Have fun and let me know what you make. I would love to know how your project turns out.
Please don't forget to like and I really appreciate your comments.
If the pattern did not make sense to you, please don’t hesitate to contact me, I am happy to help :)
If you like this pattern, please follow and share my projects on social networks as a THANK YOU and to help me to create new projects and patterns for you.
Thank you very much once again for your visit and see you soon!
♥♥♥


